


Learn how to replace foam seals on a Minolta SLR in 2025 with this step-by-step guide. Whether you're a film enthusiast or restoring a family heirloom, fresh foam light seals keep your images leak-free and your camera functional for years.
Why Foam Seals Matter in Minolta SLRs
Here you’ll see why foam seals are critical to keeping your Minolta SLR fully light-tight and reliable.
Foam seals are humble but vital: they line the camera’s film door and mirror box, preventing stray light from seeping in. Without them, your negatives risk exposure even before pressing the shutter. Over time, though, seals degrade, crumbling or turning into a sticky mess that clings to film and metal alike.
I still remember running a carefully composed roll of street scenes through an old Minolta X-700, only to have light streaks burn nearly every frame. That frustration was the spark that led me—and many other DIY photographers—to learn about foam seal replacement.

Signs It’s Time to Replace Light Seals
Here you’ll learn how to spot the telltale signs that your Minolta SLR needs new foam seals.
- Sticky residue clinging to film door edges.
- Crumbling black foam near hinge or frame edges.
- Unwanted fogging or streaks on developed negatives.
Quick inspection checklist:
- Check film door hinges for black dust.
- Inspect mirror damper foam just above the shutter.
- Look closely near viewfinder edges for decay.

Tools & Materials You Need in 2025
Here you’ll find a list of essential gear and materials for a clean and easy light seal replacement.
- Pre-cut Minolta SLR light seal kit (widely available in 2025).
- Small tweezers and wooden toothpicks for foam removal.
- Isopropyl alcohol and cotton swabs for residue cleaning.
- Protective gloves to avoid grease and residue transfer.

Step-by-Step Guide: Replacing Foam Seals
Here you’ll get a practical breakdown for replacing your Minolta’s foam seals without professional tools.
- Remove old foam carefully with tweezers or toothpicks without scratching channels.
- Dip cotton swabs in isopropyl alcohol and clean all grooves and edges.
- Allow surfaces to dry fully—no shortcuts.
- Align pre-cut foam strips, then press gently into light channel edges, hinge zones, and the mirror box region.
- Close the film door to test fit and ensure smooth locking without added resistance.
Closing the back afterward feels magical—like giving the camera a fresh heartbeat. Many first-time restorers describe the moment as breathing life back into an old friend.
Tips for Restoring Vintage Minolta SLRs
Here you’ll get advice to extend your restoration beyond foam replacement.
- Pair seal replacement with a light dusting of your viewfinder optics.
- Test shutter speed consistency; deviations may indicate lubrication needs.
- Inspect the meter accuracy with a fresh battery.
- Handle all parts gently to preserve value and originality.

Pros
- Low-cost DIY repair avoids expensive service bills.
- Restoration extends camera lifespan and reduces waste.
- Foam kits are widely available for Minolta SLRs in 2025.
Cons
- Process requires patience and careful handling.
- Incorrect installation may still allow minor light leaks.
Comparison: Foam Seal Repair Options
| Name | Best for | Spec | Look/Result | Latitude/Usability | Notes |
|---|---|---|---|---|---|
| Pre-cut Foam Seal Kit | Beginners | Custom-fit strips | Clean, accurate fit | Easy to apply | Widely available online |
| Foam Sheet + DIY Cutting | Experienced restorers | Generic foam sheet | Flexible use | Requires measuring | Cheapest option |
| Professional Service | Collectors | Full CLA + seals | Factory precision | Hands-off | Costs more, slower |
Quick Decision Box
- Choose a pre-cut Minolta kit if this is your first repair.
- Pick DIY foam sheets if you restore multiple models and enjoy fine cutting work.
- Opt for professional CLA if you own a rare or collector’s Minolta SLR.
FAQs
- Where to buy Minolta SLR foam seal kits in 2025?
- Foam kits are available from online specialty shops, vintage camera parts suppliers, and DIY restoration marketplaces.
- How to replace foam seals on a Minolta SLR?
- Remove old foam, clean the seal channels, apply your new kit with care, and test door closure. The step-by-step guide above details the process.
- How long do Minolta SLR foam seals last?
- Typically 10–20 years, depending on how the camera is stored, climate conditions, and usage frequency.
- Can I restore light leaks by replacing seals?
- Yes. Replacing foam seals usually solves light leaks, though you should also inspect for cracks or body gaps.
Bring Your Minolta Back to Life
Restoring isn’t just maintenance—it’s sustainable photography. Skip constant upgrades, repair what you love, and keep history working in your hands. Ready for your next restoration project?
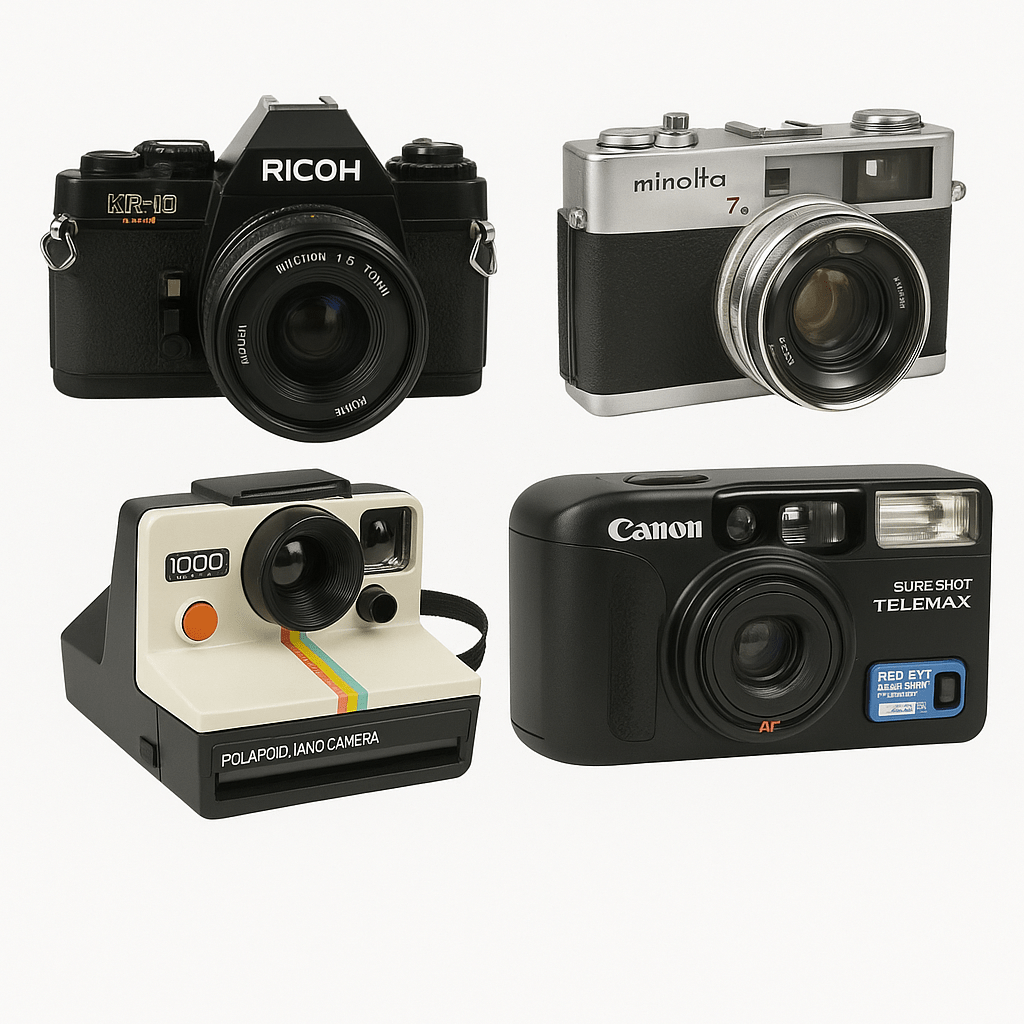
Browse our collection of vintage SLR film cameras ready for restoration.
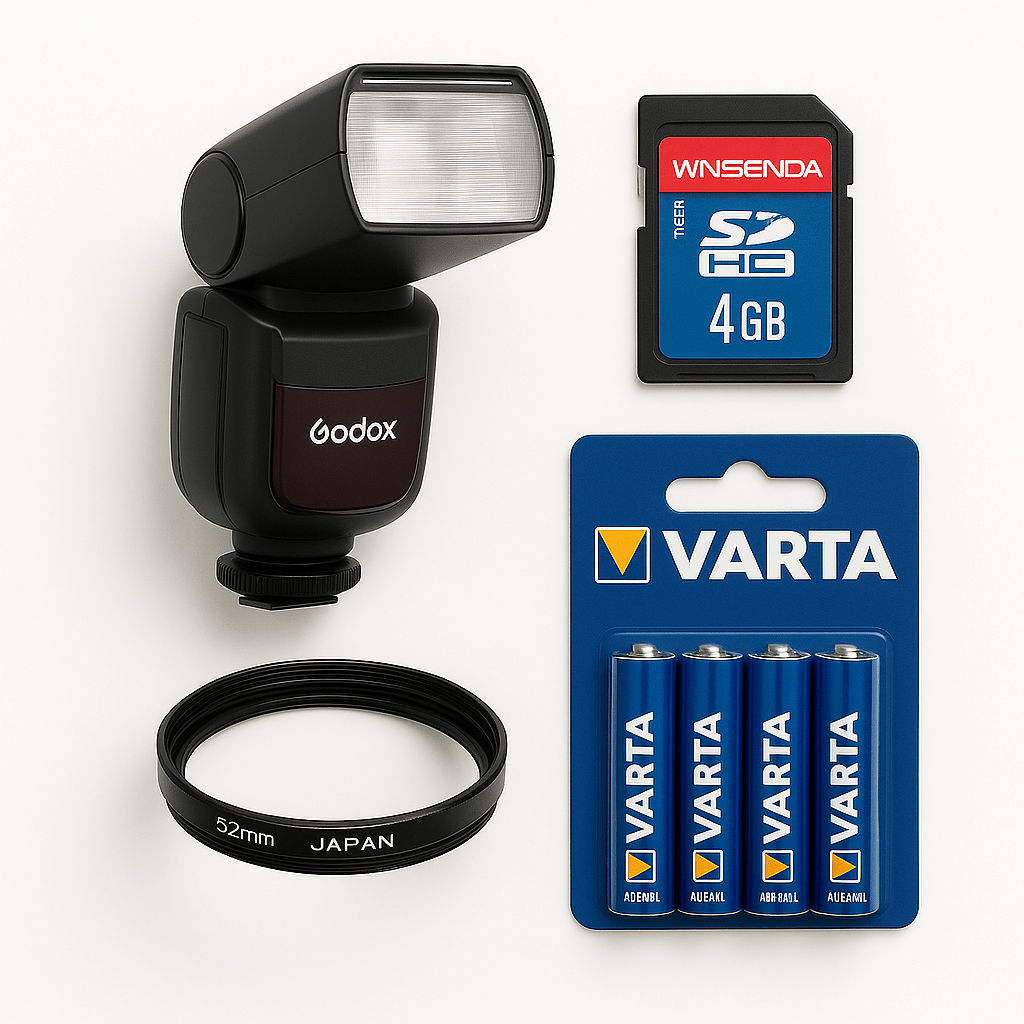
Pair your repair with photography accessories, or explore more analog cameras waiting to shine again.


0 commentaire